
I remember my first try at flatlays for my retail store. They looked nothing like I had envisioned in my head when I started pulling all the products together.
I created this mini guide to help you get started without making all the mistakes I did.
You can download the pdf version here.
Flatlays are a great way to create content for your store or brand to use on social media or in blog posts or your website. You can showcase multiple products at once and create themes and interest. It is also a great way to create shareable content that other brands use and share (if you tag lots of other brands in the image too).
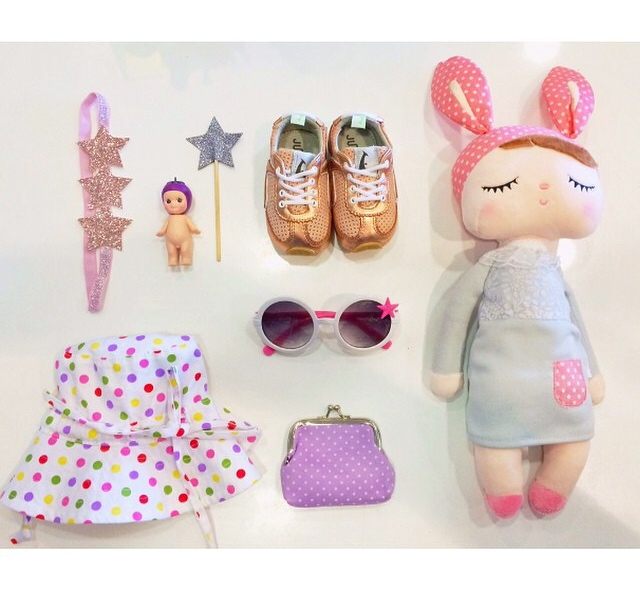
@ellasandersaustaralia
1. Background
Use a plain background. Or opt for a background that complements the featured products and doesn’t distract from the main subject. Example a subtle marble tile, a piece of plywood or white artboard, crumpled tissue paper, or even a white sheet (things that do not reflect light are best). I would keep a few things out the back in my retail store that I could move around to get the best light.
2. Camera
Any smart phone has a great camera, no need for professional cameras. Make sure you have a clean lens and space/storage to take multiple pics.The square crop option on phones always looks good and makes it easier to proportion things to the square frame.
3. Lighting
Use natural light and try to avoid any shadows. This will take some practice to get the best position in your house or office or store and also to figure out the best time of day to take them. You should be editing images also but if you start with the best light editing is a lot easier!!
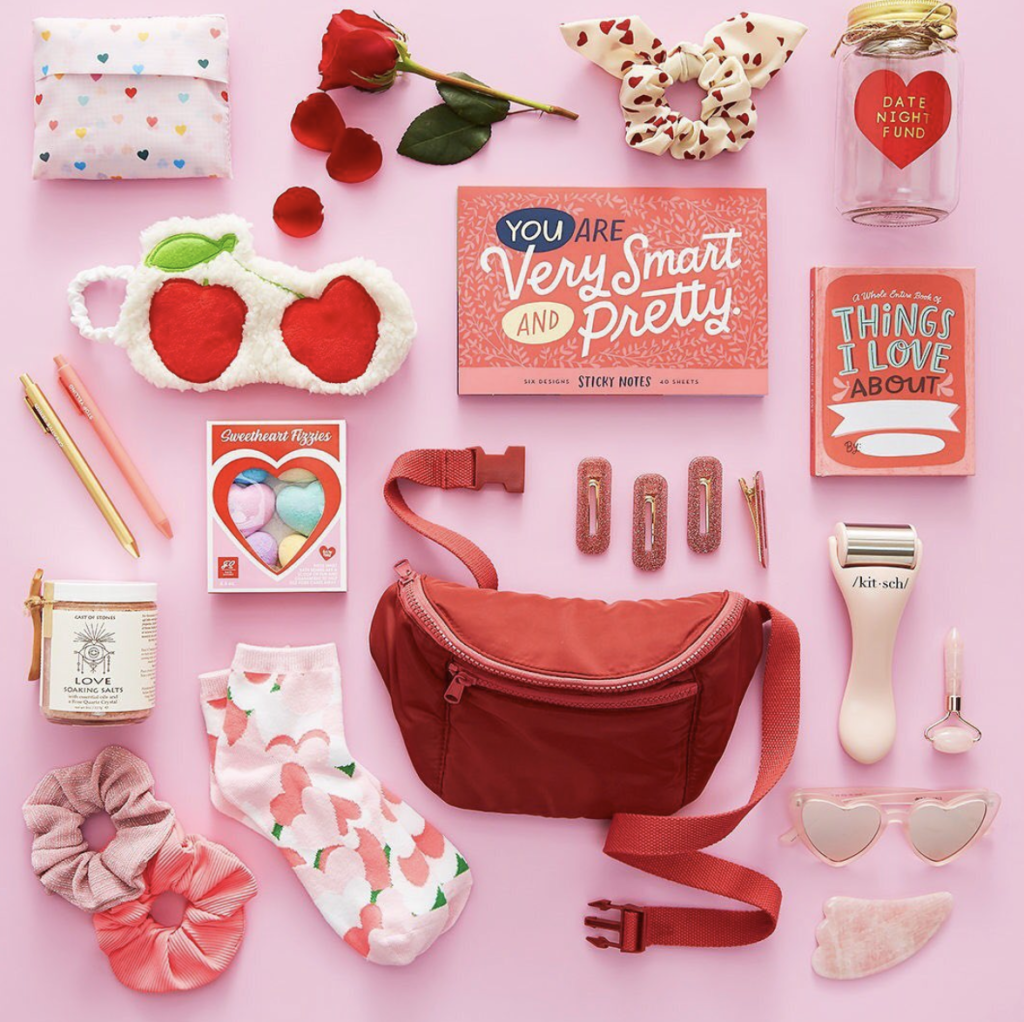
4. White space/negative space and Balance
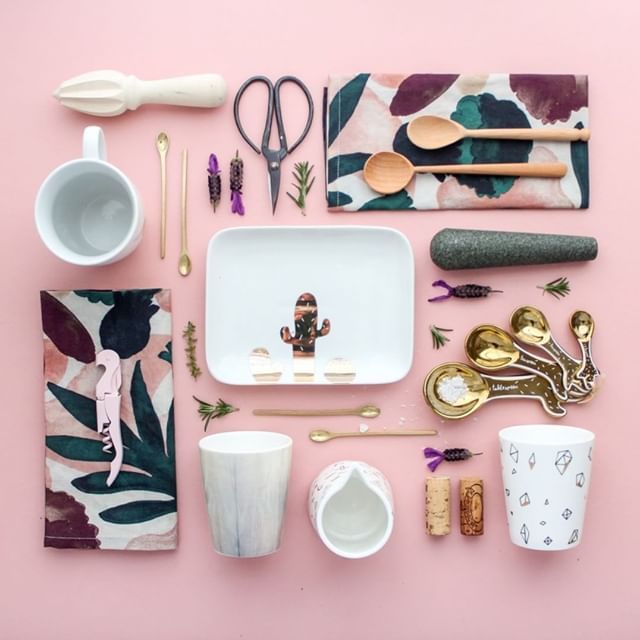
Allow for negative or white space between your items. Ensure there is balance and proportion. Especially if there are items in various sizes in the pic. Personally I like the items to be square and even however some people prefer an angled approach or even overlaying each other.
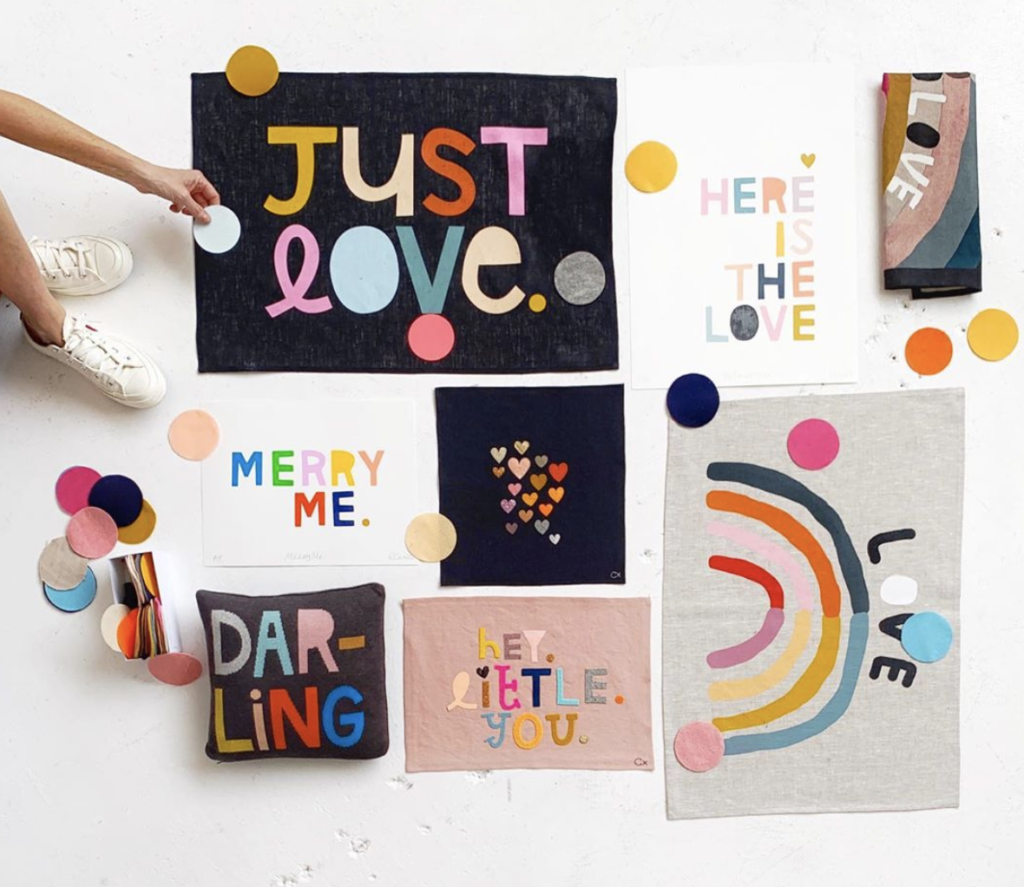
@moppitandmore
5. Angle
Use a birds eye view. Do not take photo from the side angle. Straight from above (use stool or ladder if needed).
@rachelcastleandthings
6. Have a Theme
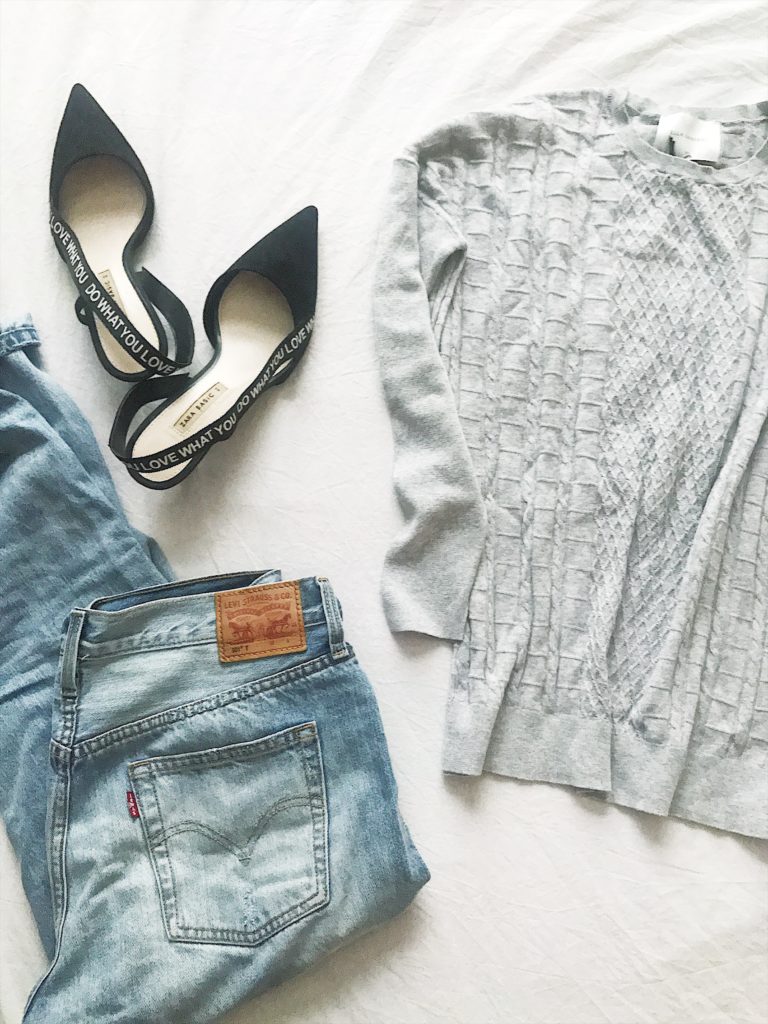
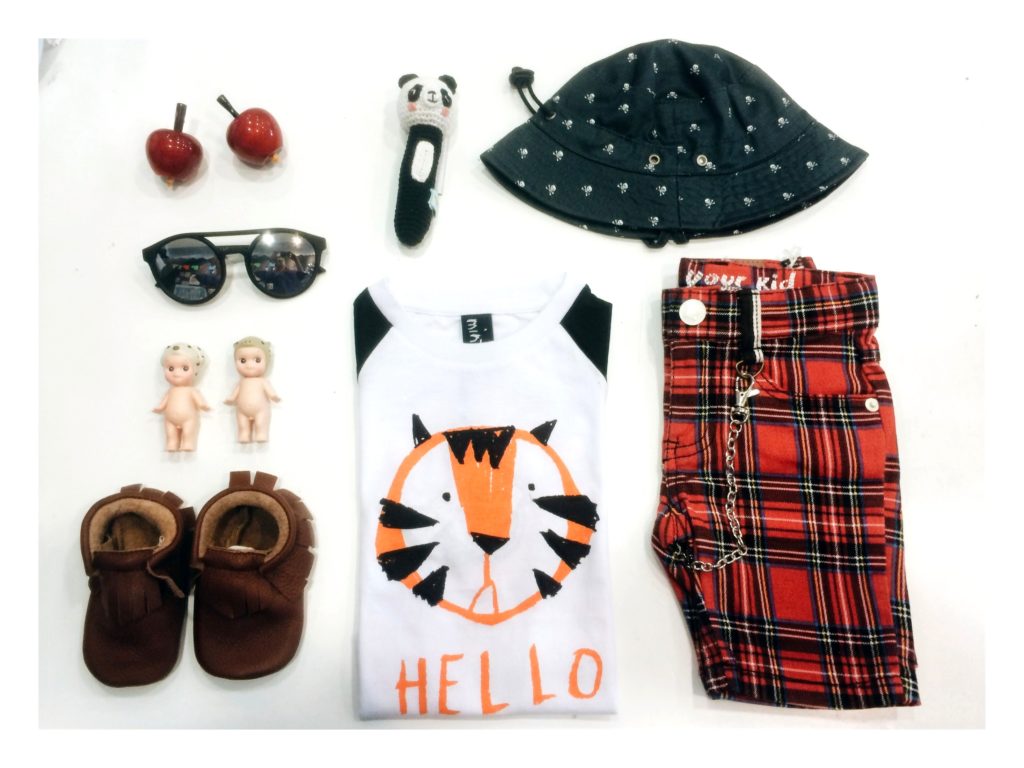
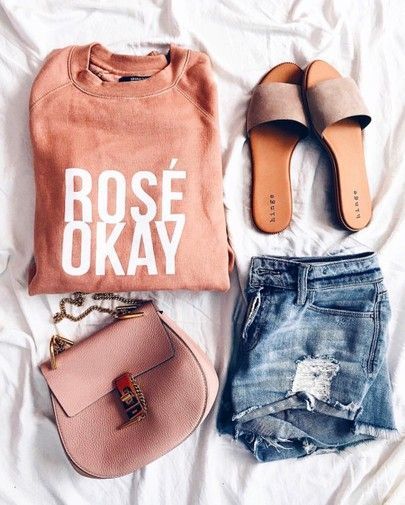
It makes sense if the items in the image relate to each other. That may be through colour or they are all new gifts in store, or they are all beach items or an outfit you have styled with accessories etc…
@aerie
I hope these tips help!! Let me know what you think (or tag me in yours on instagram!!) and if you have tried creating your own flatlays…check out my pinterest page for more inspiration.

Comments +